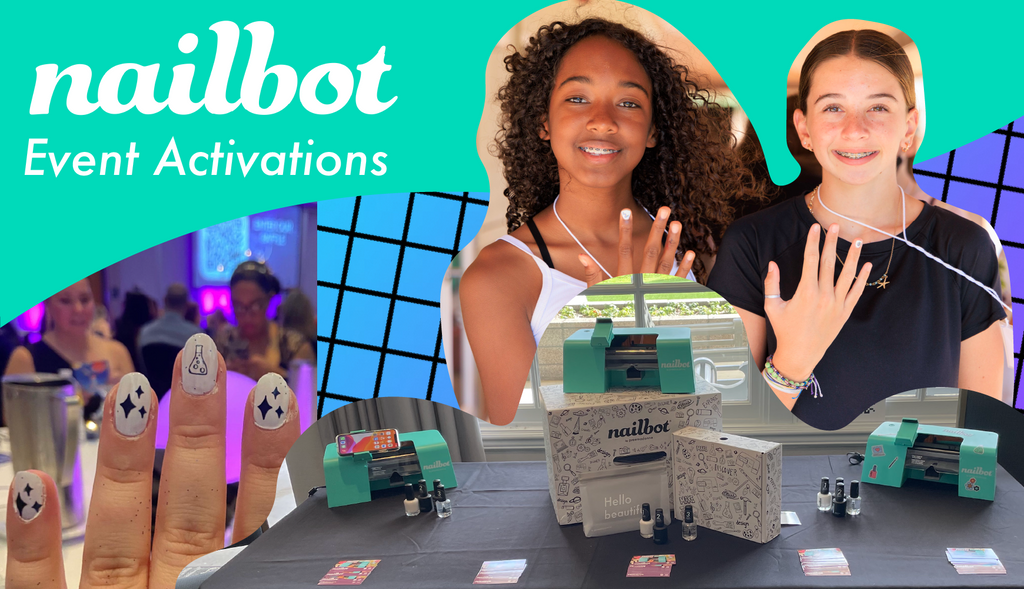
Nailbot for Event Activations
Our Best Tips & Tricks for showcasing the Nailbot
We are thrilled that you will be showcasing Nailbot at your event. Nailbot is a fun and easy printing experience enjoyed by all ages and genders. Please read below for all the “Need to Know” tips and tricks for the best and smoothest showcasing event.

Some recommended items to have on hand for your event:
- Nailbot
- Phone with Nailbot App downloaded
- Nailbot Canvas Polish, Primer, and Top Coat - Any white polish or Top Coat can work, but you NEED the Nailbot Primer in order for the prints to adhere to the nail
- Alcohol Wipes - We provide 10 in the Nailbot Kit, but we recommend to have additional on Hand
- Nail Polish Remover - We like individual Nail Polish Wipes (Good if users already have polish on and want to remove to try Nailbot)
- Phone Charger
- Power Source - Nailbot needs to be plugged into an outlet for use.

General Tips for a smooth experience:
- Have two people showing the Nailbot. - One person can focus on painting/priming nails and one person can focus on printing nails.
- Only print 1-2 nails of each user so that everyone has time to test out the Nailbot.
- If possible, have chairs for the users to sit down when getting their nails painted. This makes it easier for a user to insert their finger into the Nailbot for printing.
- Before beginning to print, make sure to Warm up your Ink Cartridge by printing test prints on photo paper. This will help get the ink following and produce good prints.
-
Quick Tips for Printing on different Nails Sizes
- If the user has small sized nails change the Nail Settings to size “Small” and set the placement to either “Bottom”.
- If the user has medium or large nails change the Nail Settings to size “Medium” or “Large” and set the placement to either “Bottom” or “Center”.
- If a print is streaky or has a line through it, the Cartridge most likely has polish or some type of containment on it. You can easily clean the cartridge with an alcohol wipe. Directions for proper cleaning can be found here: How to Clean Your Ink Cartridge
- Make sure to shake/roll the Nailbot primer prior to use. When the Primer has been unused for an extended period of time, natural separation occurs. If the primer has a goopy clump on the brush, you can remove it with an alcohol wipe.
- Polish and Primer needs to be fully dry before printing. Polish and primer should each dry in about 60 seconds. (If you are in a humid or outdoor environment, dry time might take longer.) You will know the primer is fully dry when the nail is a chalky, white finish. You can find primer tips here: How to Perfectly Prime your Nails
How to Set Up the Nailbot:
- Make sure to place the Nailbot on an even and smooth surface.
- Nailbot needs a power source in order to work. Please make sure to be near an electrical outlet.
- Plug in Nailbot to power.
- Before powering on the unit, insert the Ink Cartridge into the Nailbot.
- Next, attach the Phone Cradle to the Nailbot.
- Then you may press the power button and turn on the Nailbot.
- The Nailbot will power up and the Ink Cartridge will do an initial power-up pass.
- The Nailbot is now ready for printing
All About the Nailbot App:
- Make sure to download the Nailbot App and create an account prior to your Event.
- You can download the Nailbot App from the Apple Store or Google Play store.
- Make sure you have paired your phone to the Nailbot App before beginning to print. You can find instructions on how to pair here: How to pair your phone to the Nailbot App
- Please watch this video (How to use the Nailbot App) to learn how to Navigate the Nailbot App.
- The Nailbot Art Collections can be found in the Preemadonna Art Gallery in the Nailbot App
Helpful Articles/Video Links


